**CLICK HERE TO WATCH THE VIDEO OF HOW TO MAKE THESE!!!***
The first time I saw these, my aunt had tagged me in a picture of pie pops on Facebook. She said that she figured I had already made them before, but that she thought of me when she saw them. I got excited, but let her know that I hadn’t made them yet, and was going to the store to get the ingredients. What a cute idea! I told my mom about them since we were going to visit for the weekend, and she wanted to try them. So, I made a batch while visiting at their house…and learned a few things in the process. First, they needed more filling. As in, those little suckers need to be packed with filling. Second, I could personally go without eating it as a lollipop, but more as a cookie. We all ended up pulling the lollipop sticks out of them and eating them by hand. And third, it needed something else with flavor. So, with these modifications, I was more than ready to make another batch!
 First, roll out prepared pie crusts that you can pick up at the grocery store in the refrigerated section. Using a round cookie cutter, cut out 12 pieces.
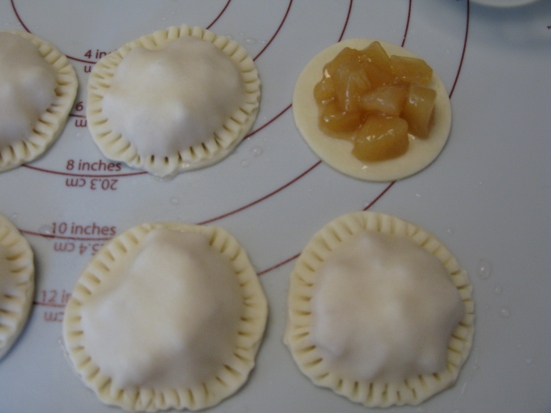
 Next, put some prepared pie filling on top of each circle (it’s easiest just to get a can of pie filling from the grocery store). If you’re using apple like I am here, make sure you cut up the apples into smaller pieces, since the apple slices are too big for these little circles. If you’re going to make them lollipops, insert the sticks in at this time.
 Brush water around the sides of the circles, then top with another layer of the pie crust to seal. Using a fork, press down along the edges.
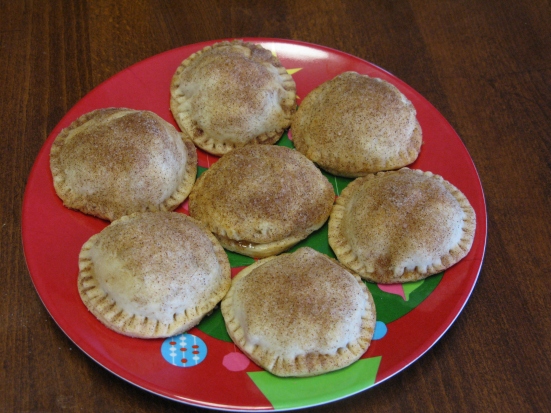
 Brush melted butter on top (1 tablespoon is enough for a batch), then sprinkle with a cinnamon and sugar mixture (1/4 cup sugar, 1 teaspoon cinnamon). Transfer pies to baking stone or cookie sheet. I used the baking stone so the pies are cooked evenly all the way through. Bake at 425 degrees for 10-12 minutes on cookie sheet, 13-15 minutes on baking stone.
 After they’re done baking, use a cookie spatula to loosen from pan, cool completely on cooling rack before packaging. Try not to eat all of them before giving away.
 If packaging pops, use the small bags with twistie ties. If packaging the bites, store in airtight container or larger bag with twistie tie.
 Perfect little edible gift, especially for the holidays! What’s great about this is that you can decide on what filling to use. Apple, peach, blueberry, cherry, cheesecake filling, or even get some chocolate Nutella and use that as a chocolate filling if your family isn’t big on the fruit pies. My family is, because they’re a bunch of fruits. It’s genetic. 🙂

I was wondering if you could do other flavors than apple. i was thinking of using these on my tables for my wedding to hold people off til dinner is served.
I’ve only tried the apple pie filling, but I would imagine other flavors would be possible as well, since it’s the canned filling used in this recipe. Hope this helps!
it helps greatly thanks
Hi, these look great! This is the best tutorial I’ve seen so far. May I ask, what size cookie cutter are you using? Thanks!
Thank you! I was using a 2 inch round cookie cutter.